Working with Vintage Radio Chassis: Handling and Cleaning
Restoring antique tube radios is a rewarding hobby, but it requires patience and a delicate touch. One of the first and most crucial steps is proper handling and cleaning of the radio chassis. Mishandling can cause irreparable damage to fragile components, while inadequate cleaning can obscure hidden problems and hinder accurate diagnosis. This article outlines safe and effective techniques for dealing with these vital aspects of radio restoration.
Understanding the Risks
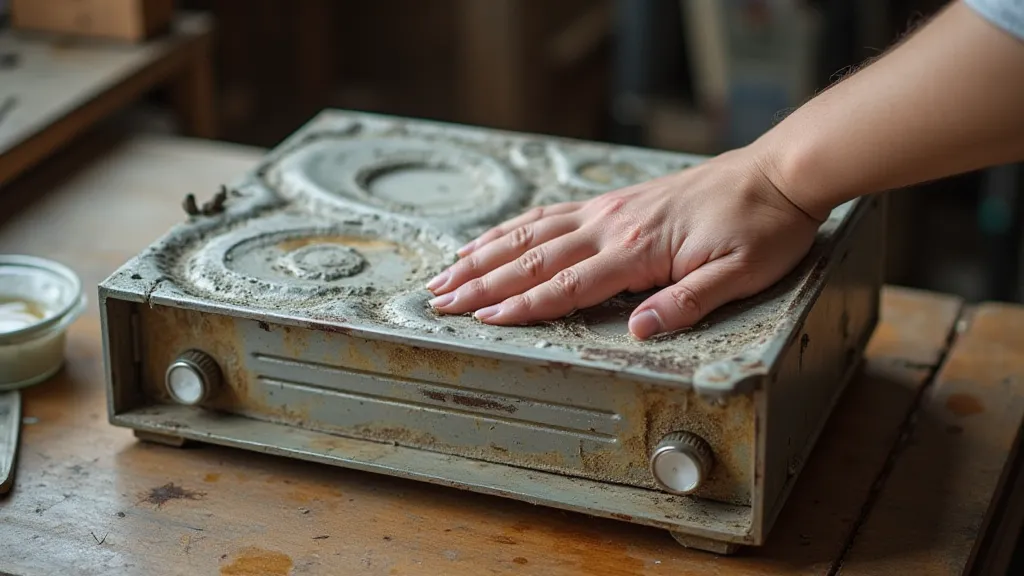
Vintage radio chassis are often made of steel, aluminum, or a combination of both. They’re typically covered in decades of accumulated dust, grime, and potentially corrosion. Furthermore, they are often the home to brittle wiring, delicate capacitors, and vacuum tubes that are sensitive to physical shock. Applying excessive force, using harsh chemicals, or simply rushing the process can easily lead to component failure or damage to the chassis itself.
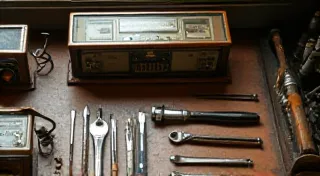
Safe Handling Practices
Before you even think about cleaning, consider how you’re handling the chassis. Here’s a few crucial points:
- Support the Chassis: Always support the chassis when moving it. A heavy chassis can easily be dropped, causing significant damage. Use both hands and, if necessary, a padded surface or cradle.
- Avoid Bending: Antique radio chassis are often thin and can bend easily. Be mindful of the chassis's shape and avoid applying pressure that could warp it.
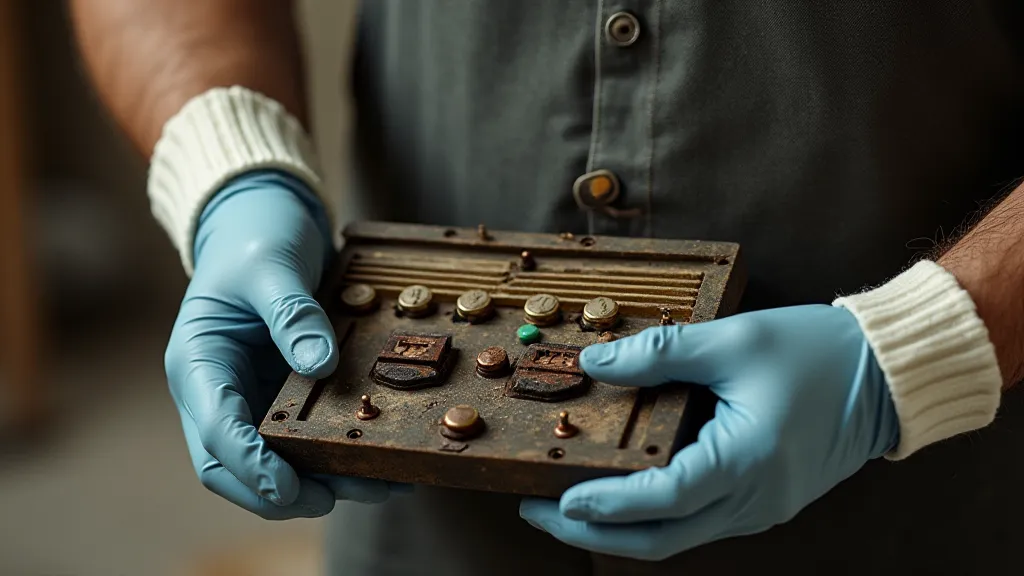
- Disconnect Components: Before any handling, it's a good idea to carefully disconnect any easily removable components, like tubes, transformers, and speakers. Label these parts to ensure correct reassembly.
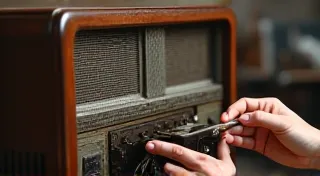
- Gloves are Essential: Wear nitrile gloves to protect the chassis from fingerprints and oils from your skin. These oils can attract dust and contribute to corrosion over time.
Cleaning Techniques: Removing Dust and Grime
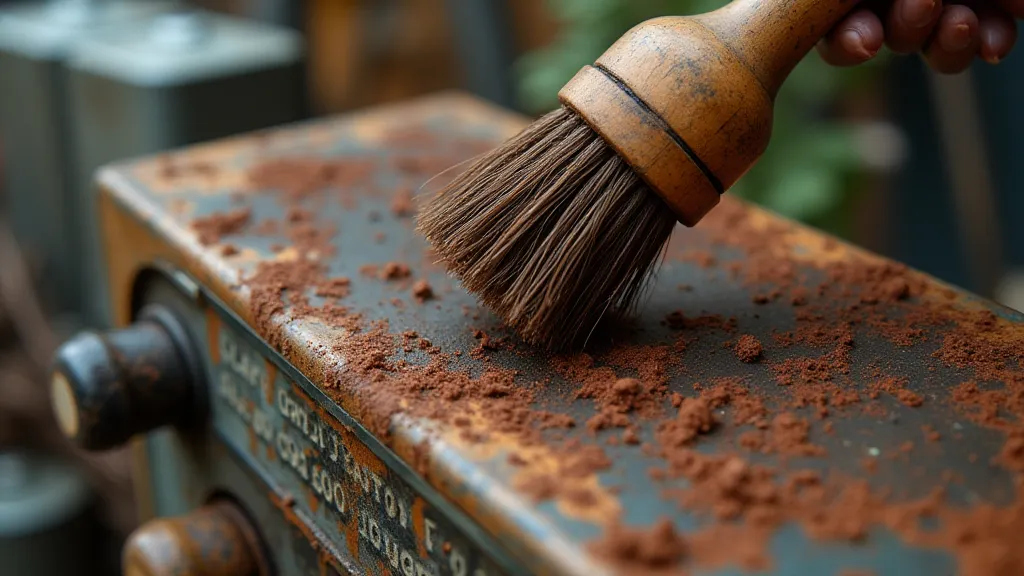
The goal here isn't just to make the chassis look pretty; it's to reveal the underlying condition of the components. Avoid harsh scrubbing which can scratch the metal. Here are some recommended methods:
- Compressed Air: Start with a can of compressed air. Use short bursts to dislodge loose dust and debris from hard-to-reach areas. Hold the can upright to prevent propellant from spraying onto the components.
- Soft Brushes: Use a variety of soft brushes – artist's brushes, makeup brushes, or even a small paintbrush – to gently sweep away remaining dust. Pay close attention to corners and around components.
- Mild Soap and Water: For more stubborn grime, a solution of mild soap (like dish soap) and warm water can be used. Apply the solution with a soft cloth, gently wiping the chassis. Crucially, immediately dry the chassis thoroughly with a clean, soft cloth. Moisture is the enemy of vintage electronics!
- Isopropyl Alcohol (IPA): For oil-based grime or stubborn residues, 70% or 90% isopropyl alcohol can be used. Apply sparingly and dry thoroughly. IPA is a good solvent for grease and some adhesives.
Dealing with Corrosion
Corrosion can be a significant problem on vintage radio chassis. Here's how to approach it:
- Light Rust: For light surface rust, a solution of white vinegar and water (1:1 ratio) can be effective. Apply the solution, let it sit for a short time, and then scrub gently with a soft brush. Rinse thoroughly and dry completely.
- Heavy Corrosion: More severe corrosion might require more aggressive methods, such as specialized rust removers or electrolysis. However, these methods should be approached with caution and require specialized knowledge. Consider consulting with a more experienced restorer if you're unsure.
- Prevention: After cleaning, a light coat of protective wax or sealant can help prevent future corrosion.
Final Thoughts
Cleaning and handling a vintage radio chassis is a crucial step in the restoration process. By following these guidelines and taking your time, you can protect the integrity of your antique radio and ensure its longevity. Remember that patience and a gentle touch are your best tools!