Replacing Radio Dials: A Step-by-Step Tutorial
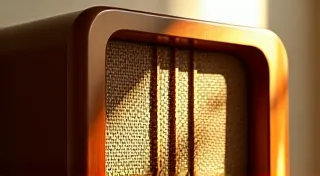
One of the most frustrating aspects of restoring antique radios is a damaged or missing dial. These delicate components are vital for tuning and often a focal point of the radio's aesthetics. Replacing them can seem daunting, but with patience and the right approach, it's a task most restorers can handle. This tutorial will guide you through the process, from removing the old dial to ensuring proper alignment of the new one.
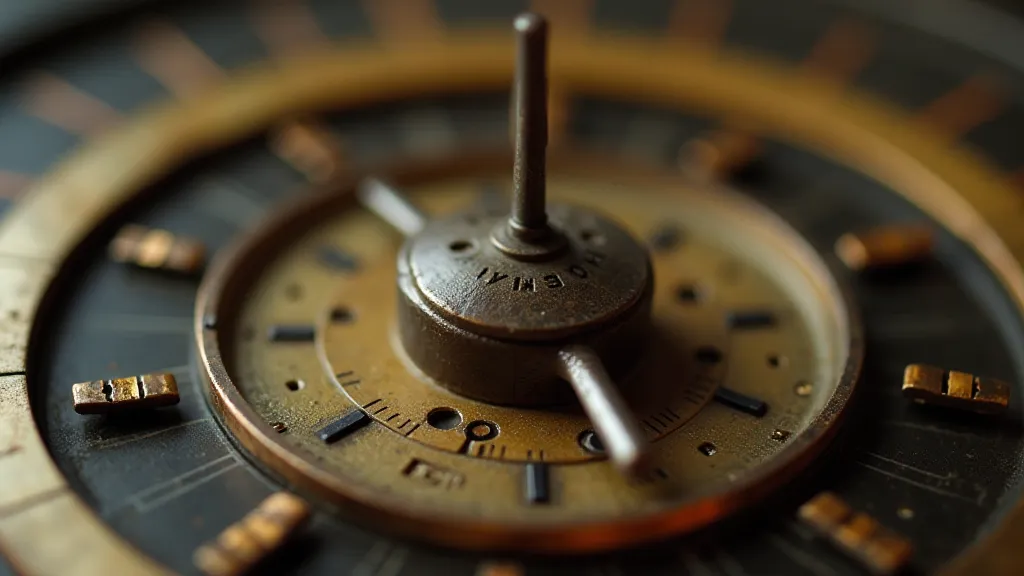
Understanding the Dial Assembly
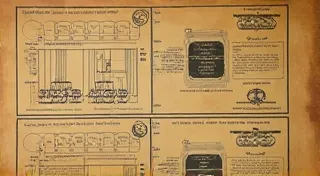
Before you begin, familiarize yourself with the dial assembly specific to your radio. Different manufacturers employed varying designs. Some dials are directly affixed, while others are part of a more complex system involving multiple rings and a pointer. Study your radio's service manual or online resources (like Radio Museum) to understand its particular mechanism. Note how the pointer is attached and how the various rings interact.
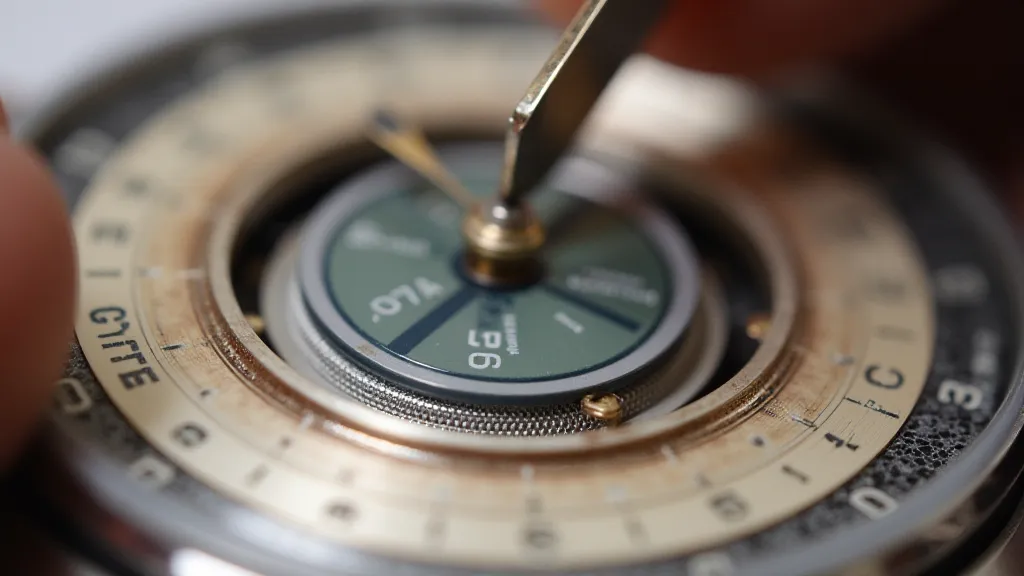
Step 1: Removing the Old Dial
This is often the trickiest part, as the old dial can be brittle and fragile. Excessive force will likely lead to further damage. Here's a methodical approach:
- Disconnect Power: Always, always disconnect the radio from the power source.
- Assess the Attachment Method: Carefully examine how the dial is secured. Is it glued, clipped, or part of a more complex spring mechanism?
- Gentle Disassembly: If the dial is glued, carefully use a thin, sharp blade (like a hobby knife) to score around the perimeter. Work slowly and gently, and apply minimal pressure. If clipped, try to locate the clip and depress it to release the dial.
- Dealing with Brittle Materials: If the dial is incredibly brittle, consider using a lubricant (like mineral oil) to soften the adhesive or ease the release of mechanical parts. Apply the lubricant sparingly using a fine-tipped applicator.
- Documentation: As you disassemble, take photos! This is invaluable for reassembly.
Step 2: Preparing the New Dial
Whether you're using an original dial, a reproduction, or a DIY replacement, preparation is key.
- Cleaning: If the new dial is dirty, carefully clean it with a mild detergent and water. Avoid harsh chemicals that can damage the finish.
- Fit and Finish: Check the fit of the dial. Does it slide smoothly within the mechanism? Make any necessary adjustments. If it’s a reproduction, examine the markings and ensure they are clear and accurately reflect the original.
- Attachment Points: If the new dial requires glue or fasteners, ensure the surfaces are clean and dry.
Step 3: Installing the New Dial
This step is essentially the reverse of the removal process, but with increased care.
- Follow Your Documentation: Use the photos and notes you took during disassembly as a guide.
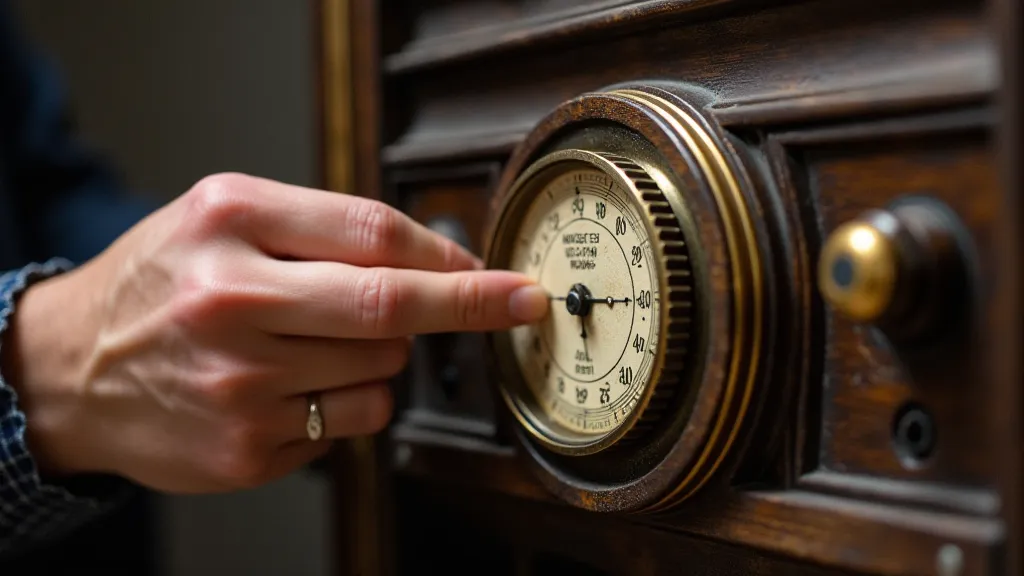
- Secure the Pointer: This is often the most critical part. Ensure the pointer is properly seated and securely attached. Incorrect pointer placement will result in inaccurate tuning.
- Ring Alignment: Carefully align the various rings according to the radio’s original design. Double-check the orientation of any markings or indicators.
- Lubrication: Apply a tiny amount of lubricant (mineral oil or silicone grease) to any moving parts to ensure smooth operation.
- Testing: After the glue is completely dry (if used) and any fasteners are tightened, test the dial's functionality. Confirm that the pointer moves smoothly and accurately indicates the selected frequency or station.
Troubleshooting Common Issues
Even with careful execution, you might encounter problems. Here are a few common issues and how to address them:
- Pointer Doesn't Align: This usually indicates a problem with the pointer's attachment or the alignment of the rings. Double-check all connections and references.
- Dial Sticks or is Difficult to Turn: This suggests a lack of lubrication or a mechanical obstruction. Apply more lubricant and carefully inspect for any debris or damage.
- Dial Rings Don't Mesh Properly: This is a sign of incorrect assembly or a damaged component. Carefully review the assembly process and ensure all parts are in the correct order and orientation.
Conclusion
Replacing a radio dial requires patience, attention to detail, and a methodical approach. While challenging, it's a rewarding task that contributes significantly to restoring the beauty and functionality of your antique radio. Remember to document your work, seek help when needed, and enjoy the process!