The Importance of Electrolytic Capacitors in Radio Restoration
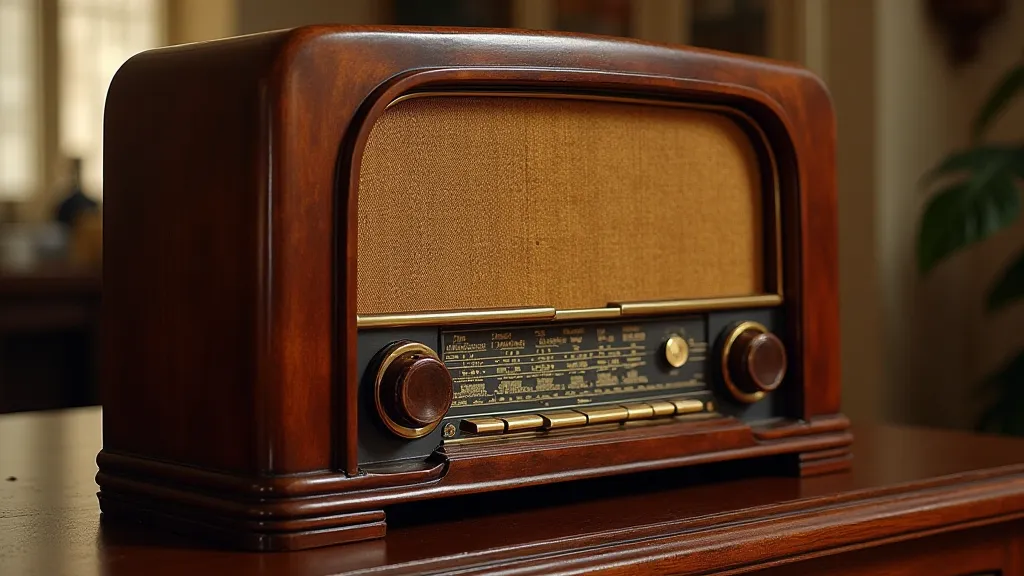
Restoring antique radios is a rewarding hobby, connecting us to a bygone era of craftsmanship and technology. A critical, often overlooked, component in these radios are electrolytic capacitors. Understanding their function, identifying them, and knowing how to replace them safely is absolutely essential for successful radio restoration.
What Do Electrolytic Capacitors Do?
Electrolytic capacitors are a type of capacitor designed to store a relatively large amount of electrical charge for their size. They are commonly found in antique tube radios where they play several key roles:
- Power Supply Filtering: They smooth out the rectified AC voltage in the power supply, providing a stable DC voltage for the radio's circuits.
- Coupling and Decoupling: They are used to block DC signals while allowing AC signals to pass, essential for audio amplification and other functions.
- Tone Control Circuits: Some radios utilize electrolytic capacitors in their tone control sections to shape the audio frequency response.
Identifying Electrolytic Capacitors
Identifying electrolytic capacitors in your antique radio isn't difficult. Here are a few things to look for:
- Polarity: Electrolytic capacitors are polarized, meaning they have a positive (+) and a negative (-) terminal. These are typically indicated by markings on the capacitor's body. Reversing the polarity during installation can cause damage, sometimes catastrophic.
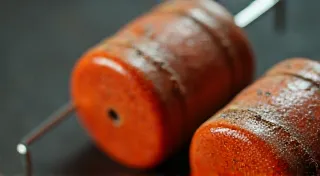
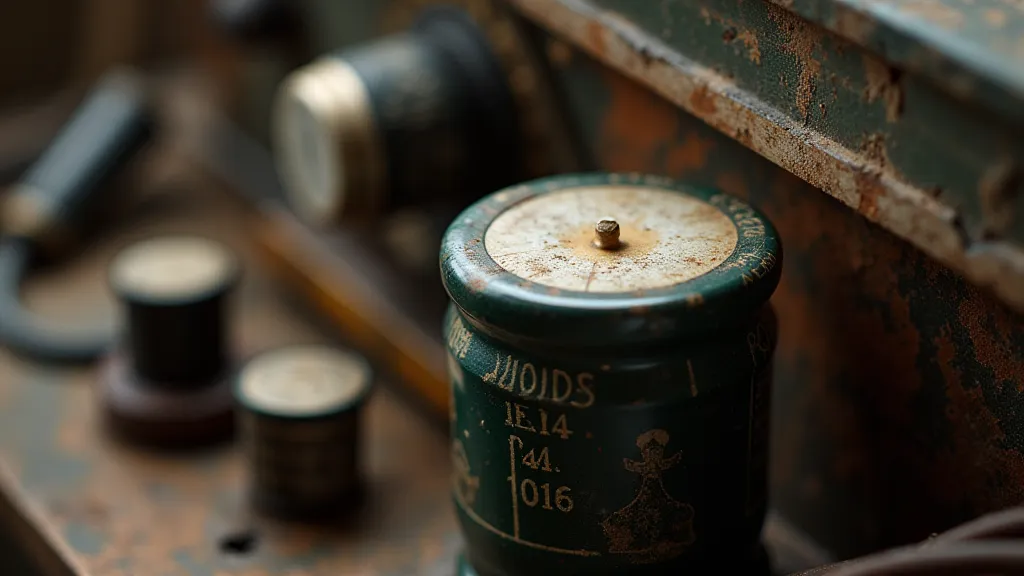
- Size and Shape: They are often cylindrical, but can also be axial (with leads) or radial (with pins). They tend to be larger than other capacitor types.
- Markings: Look for markings indicating capacitance (e.g., 10µF, 470µF) and voltage rating (e.g., 160V, 350V).
Incorrectly identifying them as non-polarized capacitors and installing them backward is a very common mistake that can cause significant damage.
Why Replacement is Often Necessary
Electrolytic capacitors are notorious for failing over time, especially in antique radios. Common failure modes include:
- Leakage: The capacitor slowly leaks current, disrupting radio operation.
- Bulging: The casing can bulge or deform due to internal pressure from electrolyte degradation. This is a clear indication of failure.
- Internal Short Circuit: The capacitor fails internally, creating a direct connection between its terminals.
- Electrolyte Drying: The liquid electrolyte evaporates, reducing the capacitor’s effectiveness and increasing its internal resistance.
Even if a capacitor doesn't exhibit obvious signs of failure, it’s often recommended to replace them as a preventative measure during a full radio restoration. Electrolyte degradation is a slow process and often not immediately apparent.
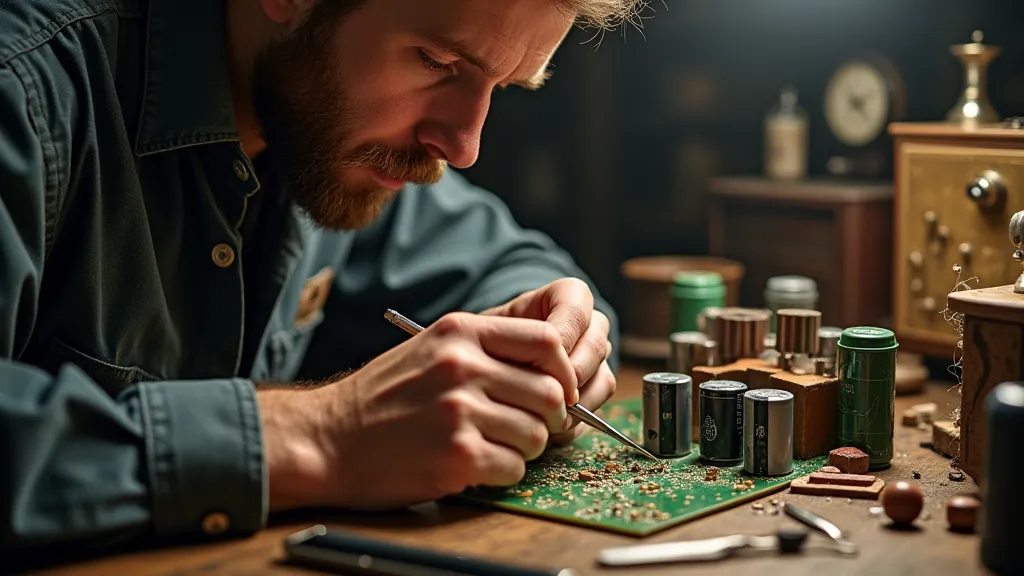
Safe Replacement Practices
Replacing electrolytic capacitors requires careful attention to safety and correct procedure:
- Discharge the Capacitor: Before handling any capacitor, ensure it's fully discharged. A resistor can be used to slowly discharge the capacitor.
- Observe Polarity: Crucially, note the original capacitor's polarity before removing it. The new capacitor *must* be connected with the correct polarity.
- Voltage Rating: Always use a replacement capacitor with a voltage rating equal to or greater than the original.
- Type: It is common practice to replace regular electrolytic capacitors with longer-lasting low-leakage capacitors, improving reliability.
- Soldering: Use good soldering techniques to ensure a reliable connection.
Final Thoughts
Replacing electrolytic capacitors is a fundamental task in antique radio restoration. By understanding their function, correctly identifying them, and following safe replacement practices, you can greatly improve the reliability and longevity of these wonderful pieces of vintage electronics. Remember to always prioritize safety and double-check your work!