Testing Antique Radio Tubes: A Practical Guide
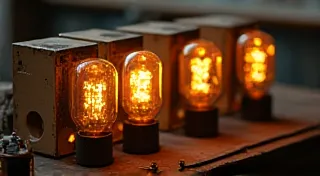
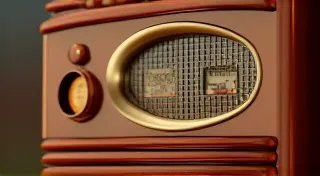
The heart of any antique or vintage tube radio is its vacuum tubes. These delicate components are responsible for amplification, oscillation, and detection of radio signals. Over time, tubes can weaken, fail, or develop issues that impact the radio's performance. Knowing how to test antique radio tubes is a vital skill for anyone involved in radio repair and restoration.
Why Test Your Radio Tubes?
Regular tube testing can identify problems before they lead to more extensive and costly repairs. Signs that your tubes might need testing include:
- Weak signal reception
- Distorted audio
- Hum or other unwanted noises
- Unstable operation
- Complete radio failure
Understanding Tube Ratings and Types
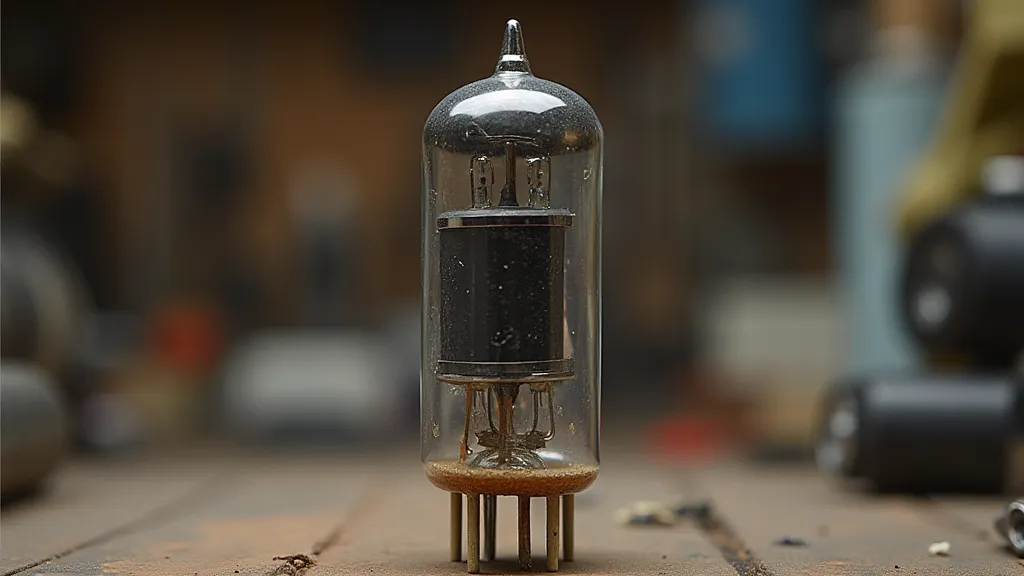
Antique radio tubes come in a wide variety of types, each with specific ratings and characteristics. Common tube designations include numbers like 6SN7, 12AX7, 6L6, and many more. Understanding these designations is crucial for accurate testing and replacement. You'll find these ratings printed directly on the tube itself.
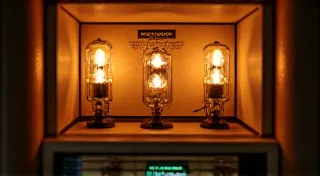
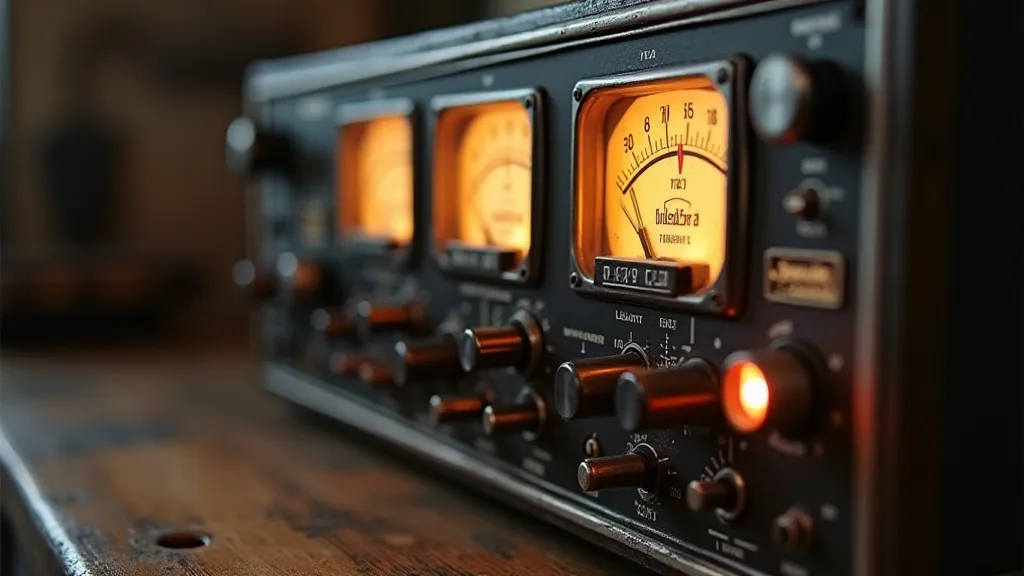
The Tube Tester: Your Diagnostic Tool
A tube tester is the primary instrument for assessing tube condition. These testers can range from simple “ring down” testers to sophisticated devices that measure various parameters like emission, gm (transconductance), and Ia (grid leak current). While modern digital tube testers are readily available, classic analog testers are also popular among restoration enthusiasts. Regardless of the type, it's essential to understand how to interpret the results.
Types of Tube Testers
- Ring Down Tester: These basic testers check only for shorts or open filaments. They are a starting point, but insufficient for comprehensive evaluation.
- Emission Tester: Measures the tube's ability to emit electrons.
- Analyzer: Provides a more detailed analysis of tube characteristics.
A Practical Testing Procedure
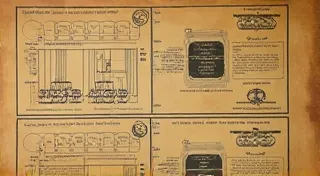
Here's a general procedure for testing antique radio tubes using a tube tester (specific procedures will vary depending on the tester model. Always consult your tester's manual):
- Preparation: Ensure the tube tester is properly calibrated and plugged in.
- Tube Selection: Identify the tube type you’re testing. Select the appropriate test setting on the tube tester.
- Filament Check: Most tube testers will have a filament test. This checks for continuity of the heater wires. A broken filament will prevent the tube from functioning.
- Emission Test: This is the primary test. The tester will measure the tube's emission strength and compare it to a "good" value. Values below the acceptable range indicate a weak tube.
- Grid Leak and Gm Testing (if applicable): More advanced testers measure grid leak current (Ia) and transconductance (Gm). Elevated Ia indicates potential issues. Gm provides insight into the tube’s amplification capabilities.
- Interpretation: Compare the test results to the values specified in the tester’s manual and reference data. A tube with consistently poor readings needs to be replaced.
Understanding Test Results
Interpreting tube tester results can be tricky. Generally:
- Good: The tube falls within the acceptable range of values.
- Weak: The tube’s values are lower than ideal, but it may still function. These tubes should be monitored closely.
- Marginal: The tube is nearing the end of its lifespan. Replacement is recommended.
- Bad: The tube is faulty and needs to be replaced immediately.
Important Safety Precautions
Working with vintage radio tubes involves certain risks:
- High Voltage: Radio circuits contain high voltages. Disconnect the radio from the power outlet before attempting any testing or repair.
- Glass Breakage: Tubes contain glass which can break. Wear eye protection and gloves.
- Contamination: Old tubes may contain contaminants. Avoid inhaling dust.
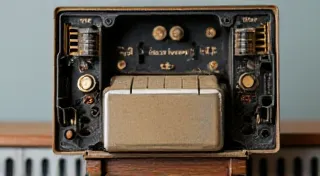
Beyond the Tester: Visual Inspection
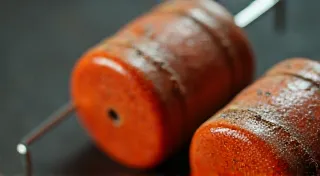
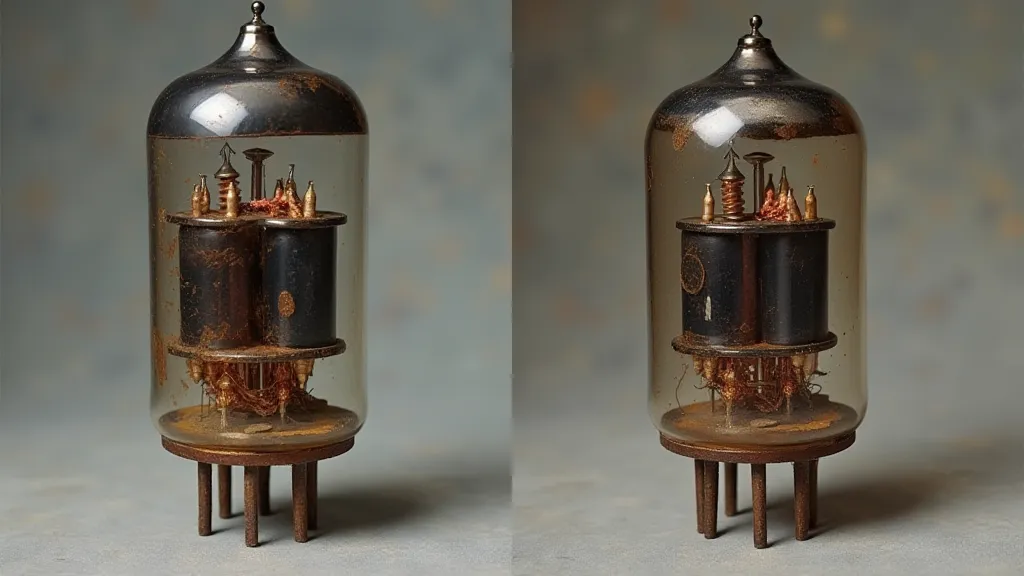
Always perform a visual inspection of the tube before and after testing. Look for signs of damage, such as discoloration, cracks, or bulging plates. These visual cues can be a telltale sign of a faulty tube.
Conclusion
Testing antique radio tubes is an essential skill for anyone restoring vintage electronics. By understanding tube types, using a tube tester, and following safe practices, you can diagnose and resolve many common problems, breathing new life into these classic radios.